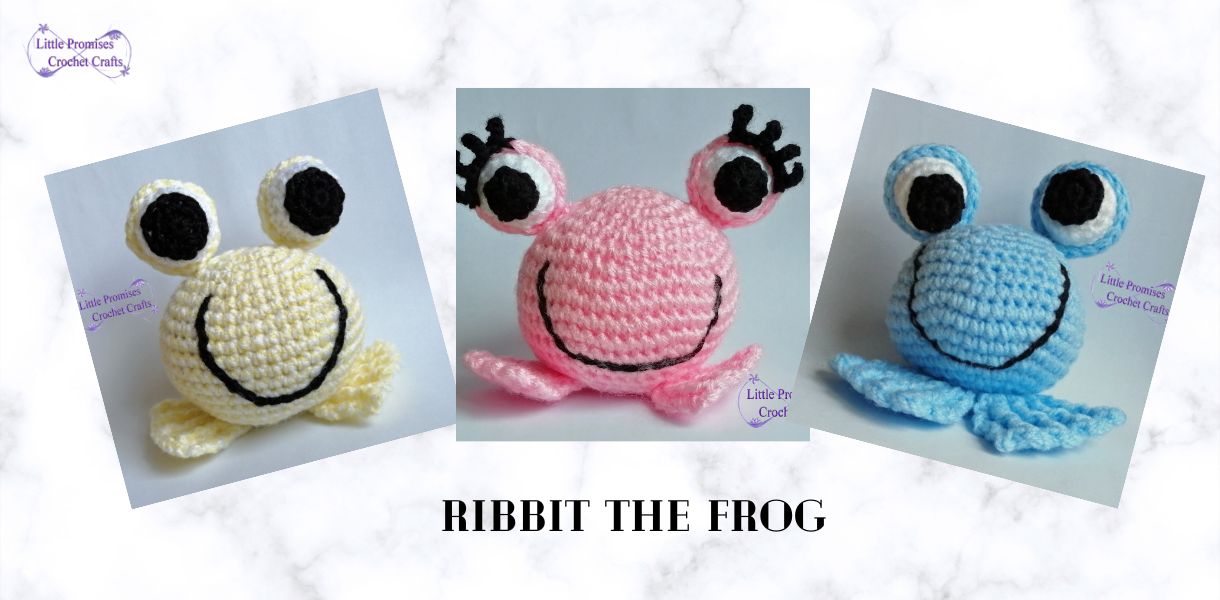
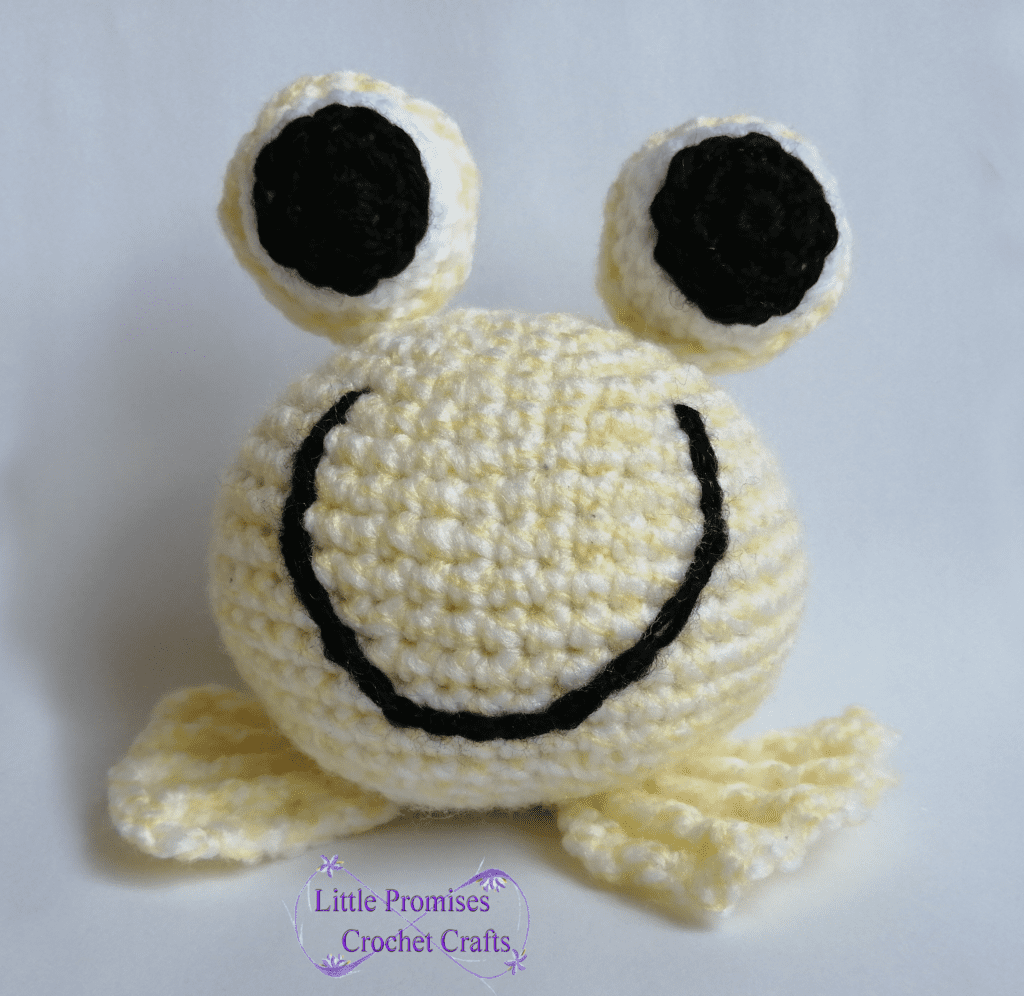
I’ve made a very simple Amigurumi pattern with plenty of scope for your imagination. Feel free to use, adapt and enjoy this smiley Ribbit frog in any way your heart desires.
Materials
Yarn
- 50 – 60g Main Colour for Body, Eye Sockets & Feet
- Scrap White for Eyes
- Scrap Black for Pupils & Smile
Stuffing
Hook (Size for yarn)
Scissors
Yarn Needle
Gauge
Not Important
Skill Level
Beginner/Intermediate
Stitch Guide
Magic Circle (MC)
Chain (ch)
Slip Stitch (slst)
Single Crochet (sc)
Double Crochet (dc)
Invisible Decrease (invdec) – Hook under front loop of both stitches, yarn over and pull through both loops, sc as normal. (see video for demonstration)
Front Post Double Crochet (Fpdc) – Work from front of work around post (not loops) of stitch from previous row. (see video for demonstration)
Back Post Double Crochet (Bpdc) – Work from back of work around post (not loops) of stitch from previous row. (see video for demonstration)
Notes
In order to maintain a better spherical shape with my Amigurumi I prefer to offset my increase and decrease stitches. I apologise if this makes the instructions a little more complicated but I feel the end product is worth the extra effort.
Ribbit Instructions
Main Body (Main Colour)
Round 1 MC, 6sc (6)
Round 2 2sc in each stich (12)
Round 3 *Sc, 2sc* repeat from * to * around, join to back loop of 1st stitch, ch 1 (18)
Round 4 Sc in the next stitch, 2sc in next, *sc in the next 2 stitches, 2sc in next stitch.* repeat from * to * until last stitch, sc, join to back loop of 1st stitch, ch 1 (24)
Round 5 *sc in the next 3 stitches, 2sc in next*, repeat from * to * around join to back loop of 1st stitch, ch 1 (30)
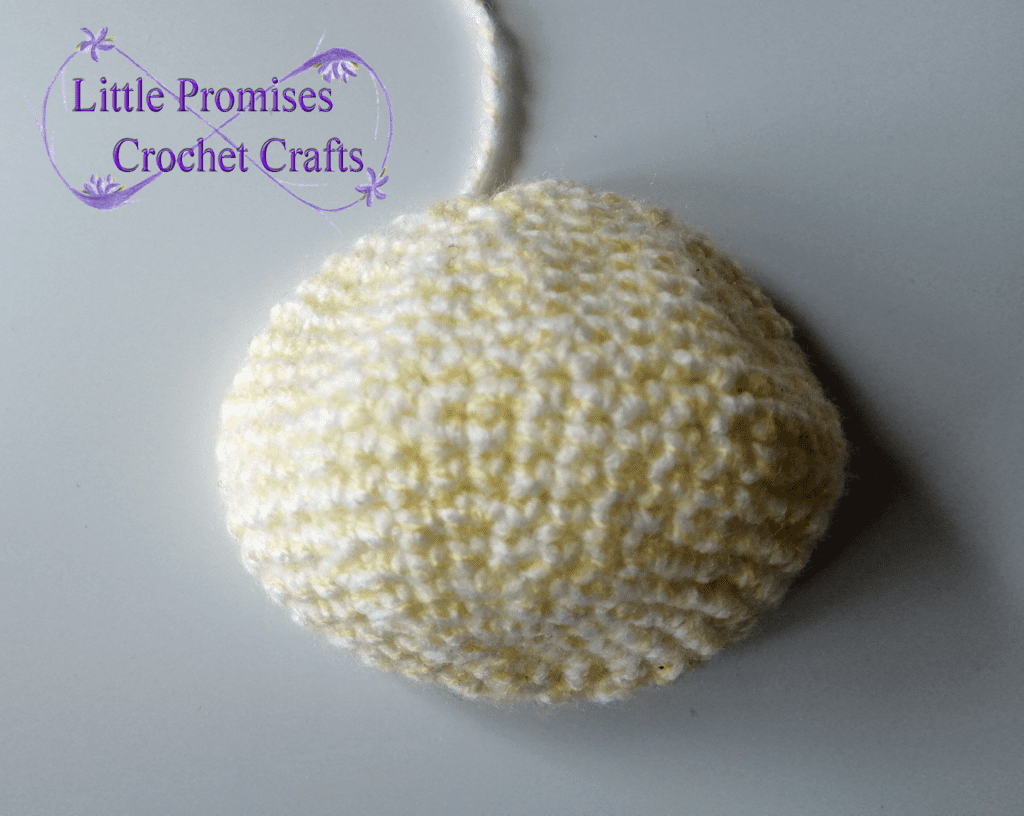
Round 6 Sc in the next 2 stitches, 2sc in next, *sc in the next 4 stitches, 2sc in next stitch. Repeat from * to * until last 2 stitches, sc in next 2 stitches, join to back loop of 1st stitch, ch 1 (36)
Round 7 *sc in the next 5 stitches, 2sc in next,* repeat from * to * around, join to back loop of 1st stitch, ch 1 (42)
Round 8 Sc in the next 3 stitches, 2sc in next, *sc in the next 6 stitches, 2sc in next stitch*. repeat until last 3 stitches, sc in next 3 stitches, join to back loop of 1st stitch, ch 1 (48)
Rounds 9 -14 Sc around, join to back loop of 1st stitch, ch 1 (5 rounds) (48)
Round 15 sc in the next 3 stitches, invdec in next, *sc in next 6 stitches, invdec in next* repeat from * to * around until last 3 stitches, sc in last 3 stitches, join to back loop of 1st stitch, ch1 (42)
Round 16 *sc in the next 5 stitches, invdec in next*, repeat from * to * around, join to back loop of 1st stitch, ch1 (36)
Round 17 sc in the next 2 stitches, invdec in next, *sc in the next 4 stitches, invdec in next* repeatfrom * to * around until last 2 stitches, sc in last 2 stitches, join to back loop of 1st stitch, ch1 (30)
Start stuffing here and add as you go
Round 18 *sc in the next 3 stitches, invdec in next*, repeat from * to * around, join to back loop of 1st stitch, ch1 (24)
Round 19 sc in the next stitch, invdec in next, *sc in the next 2 stitches, invedec in next* repeat around, join to back loop of 1st stitch, ch1 (18)
Round 20 *sc in the next 1 stitch, invdec in next*, repeat from * to * around, join in both loops of 1st stitch, ch 1 (12)
Round 21 invdec each st, repeat around (6)
Sew closed and hide tail
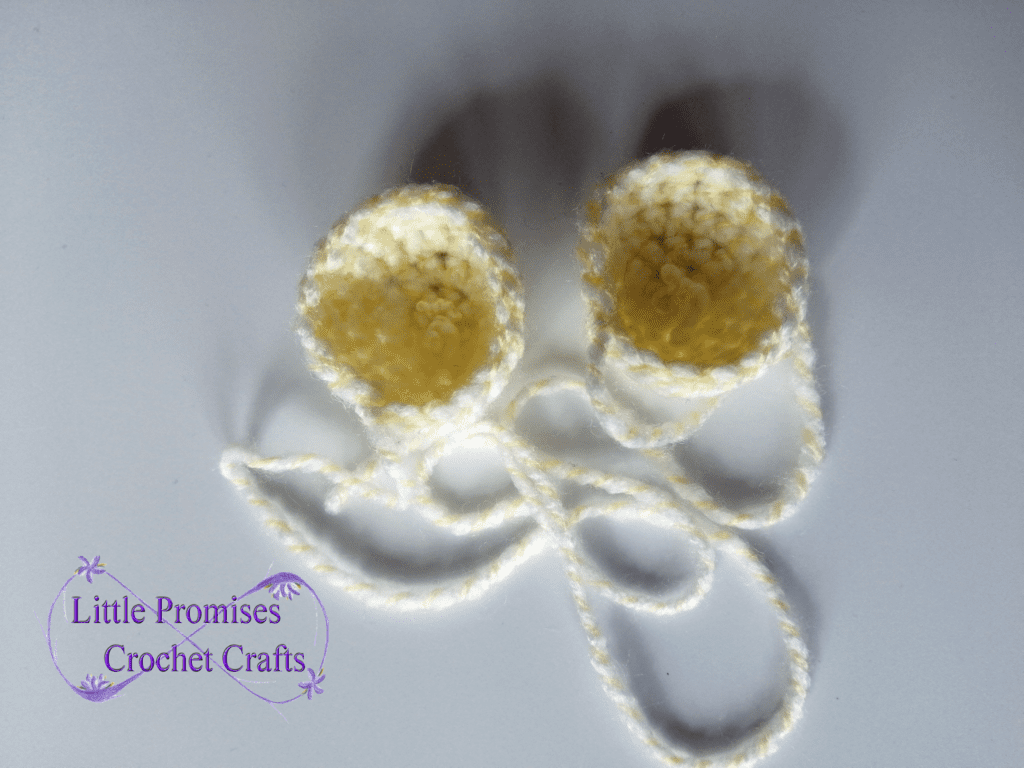
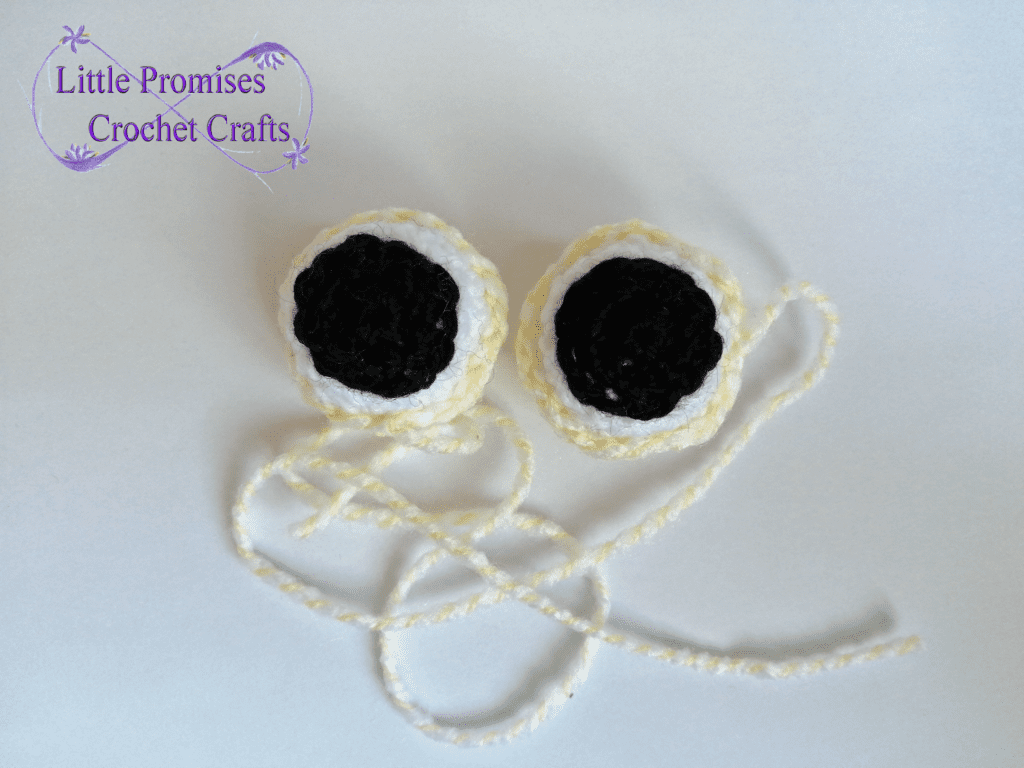
Eye Sockets (Main Colour, Make 2)
Round 1 MC, 6sc, join to back loop of 1st stitch, ch1 (6)
Round 2 2sc in each stitch, join to back loop of 1st stitch, ch1 (12)
Round 3 *Sc, 2sc* repeat from * to * around, join to back loop of 1st stitch, ch1 (18)
Rounds 4 & 5 Sc around (18)
cut yarn, leave long tail for sewing to body
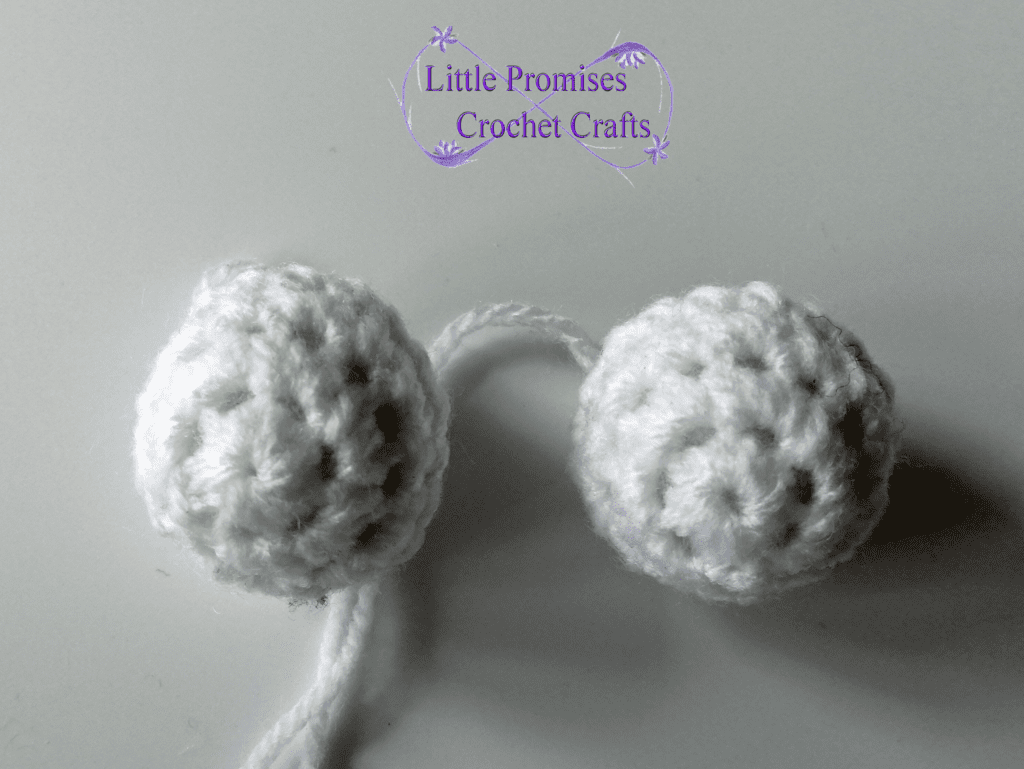
Eyeballs (White, Make 2)
Round 1 MC, 6sc, join to back loop of 1st stitch, ch1 (6)
Round 2 2sc in each stitch, join to back loop of 1st stitch, ch1 (12)
Round 3 *Sc, 2sc* repeat from * to * around, join to back loop of 1st stitch, ch1 (18)
Round 4 Sc around, join to back loop of 1st stitch, ch1 (18)
Round 5 *Sc, invdec* repeat from * to * around, join to both loops of 1st stitch, ch1 (12)
Stuff
Round 6 invdec around (6)
Top up stuffing, Cut yarn and sew closed
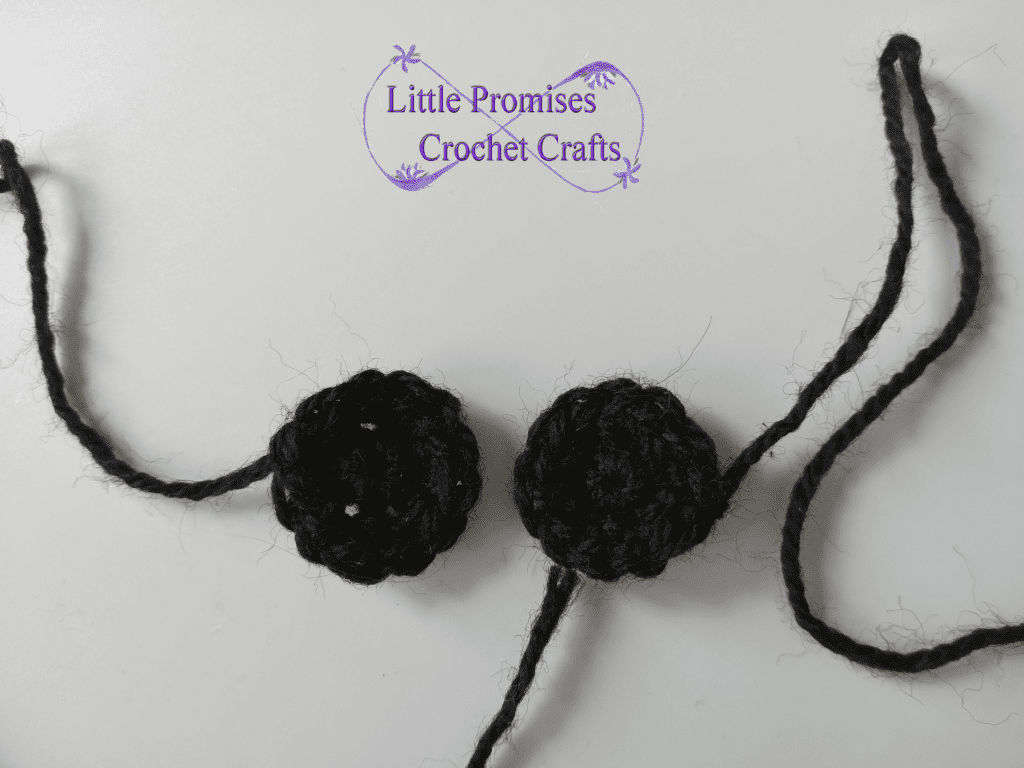
Pupils (Black, Make 2)
Round 1 MC, 6sc, join to back loop of 1st stitch, ch1 (6)
Round 2 2sc in each stitch, join to both loops of 1st stitch, ch1 (12)
Cut yarn and leave tail for sewing to eye
Feet (Main Colour, Make 2)
Start with long tail for sewing to main body
Row 1 Ch 5, sc in 2nd chain from hook, sc to end, ch2, turn (4)
Row 2 2dc in each of the next 4, ch2, turn (8)
Row 3 *dc, Fpdc ,* repeat across row until last stitch, dc in top of ch2, ch2, turn (9)
Row 4 Bpdc around Fpdc and dc in dc, ch1, turn (9)
Row 5 *sc, ch1, Fpdc,ch1* x4, sc (4 Fpdc, 5sc)
Cut yarn and sew in short end

Construction
Sew pupils to eyes around rounds 5 & 6
Sew eyes into eye sockets (remember to position pupils)
Sew eyes between rounds 4&5 on main body
Sew feet between rows 18 &19 or main body, following the curve for best effect
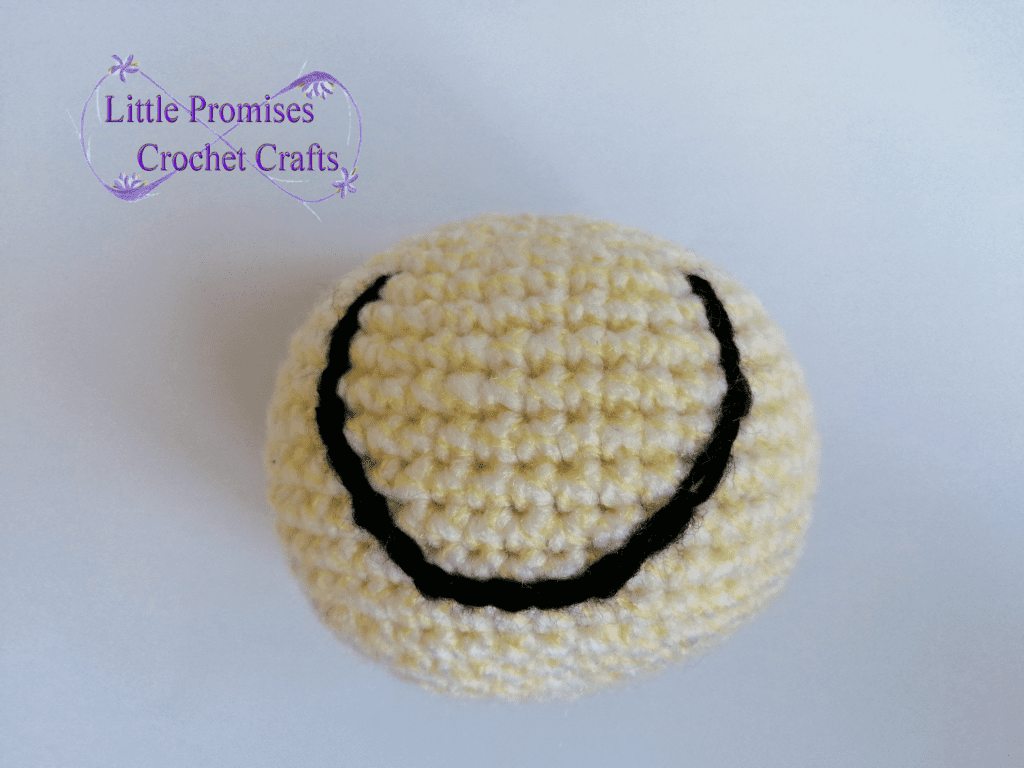
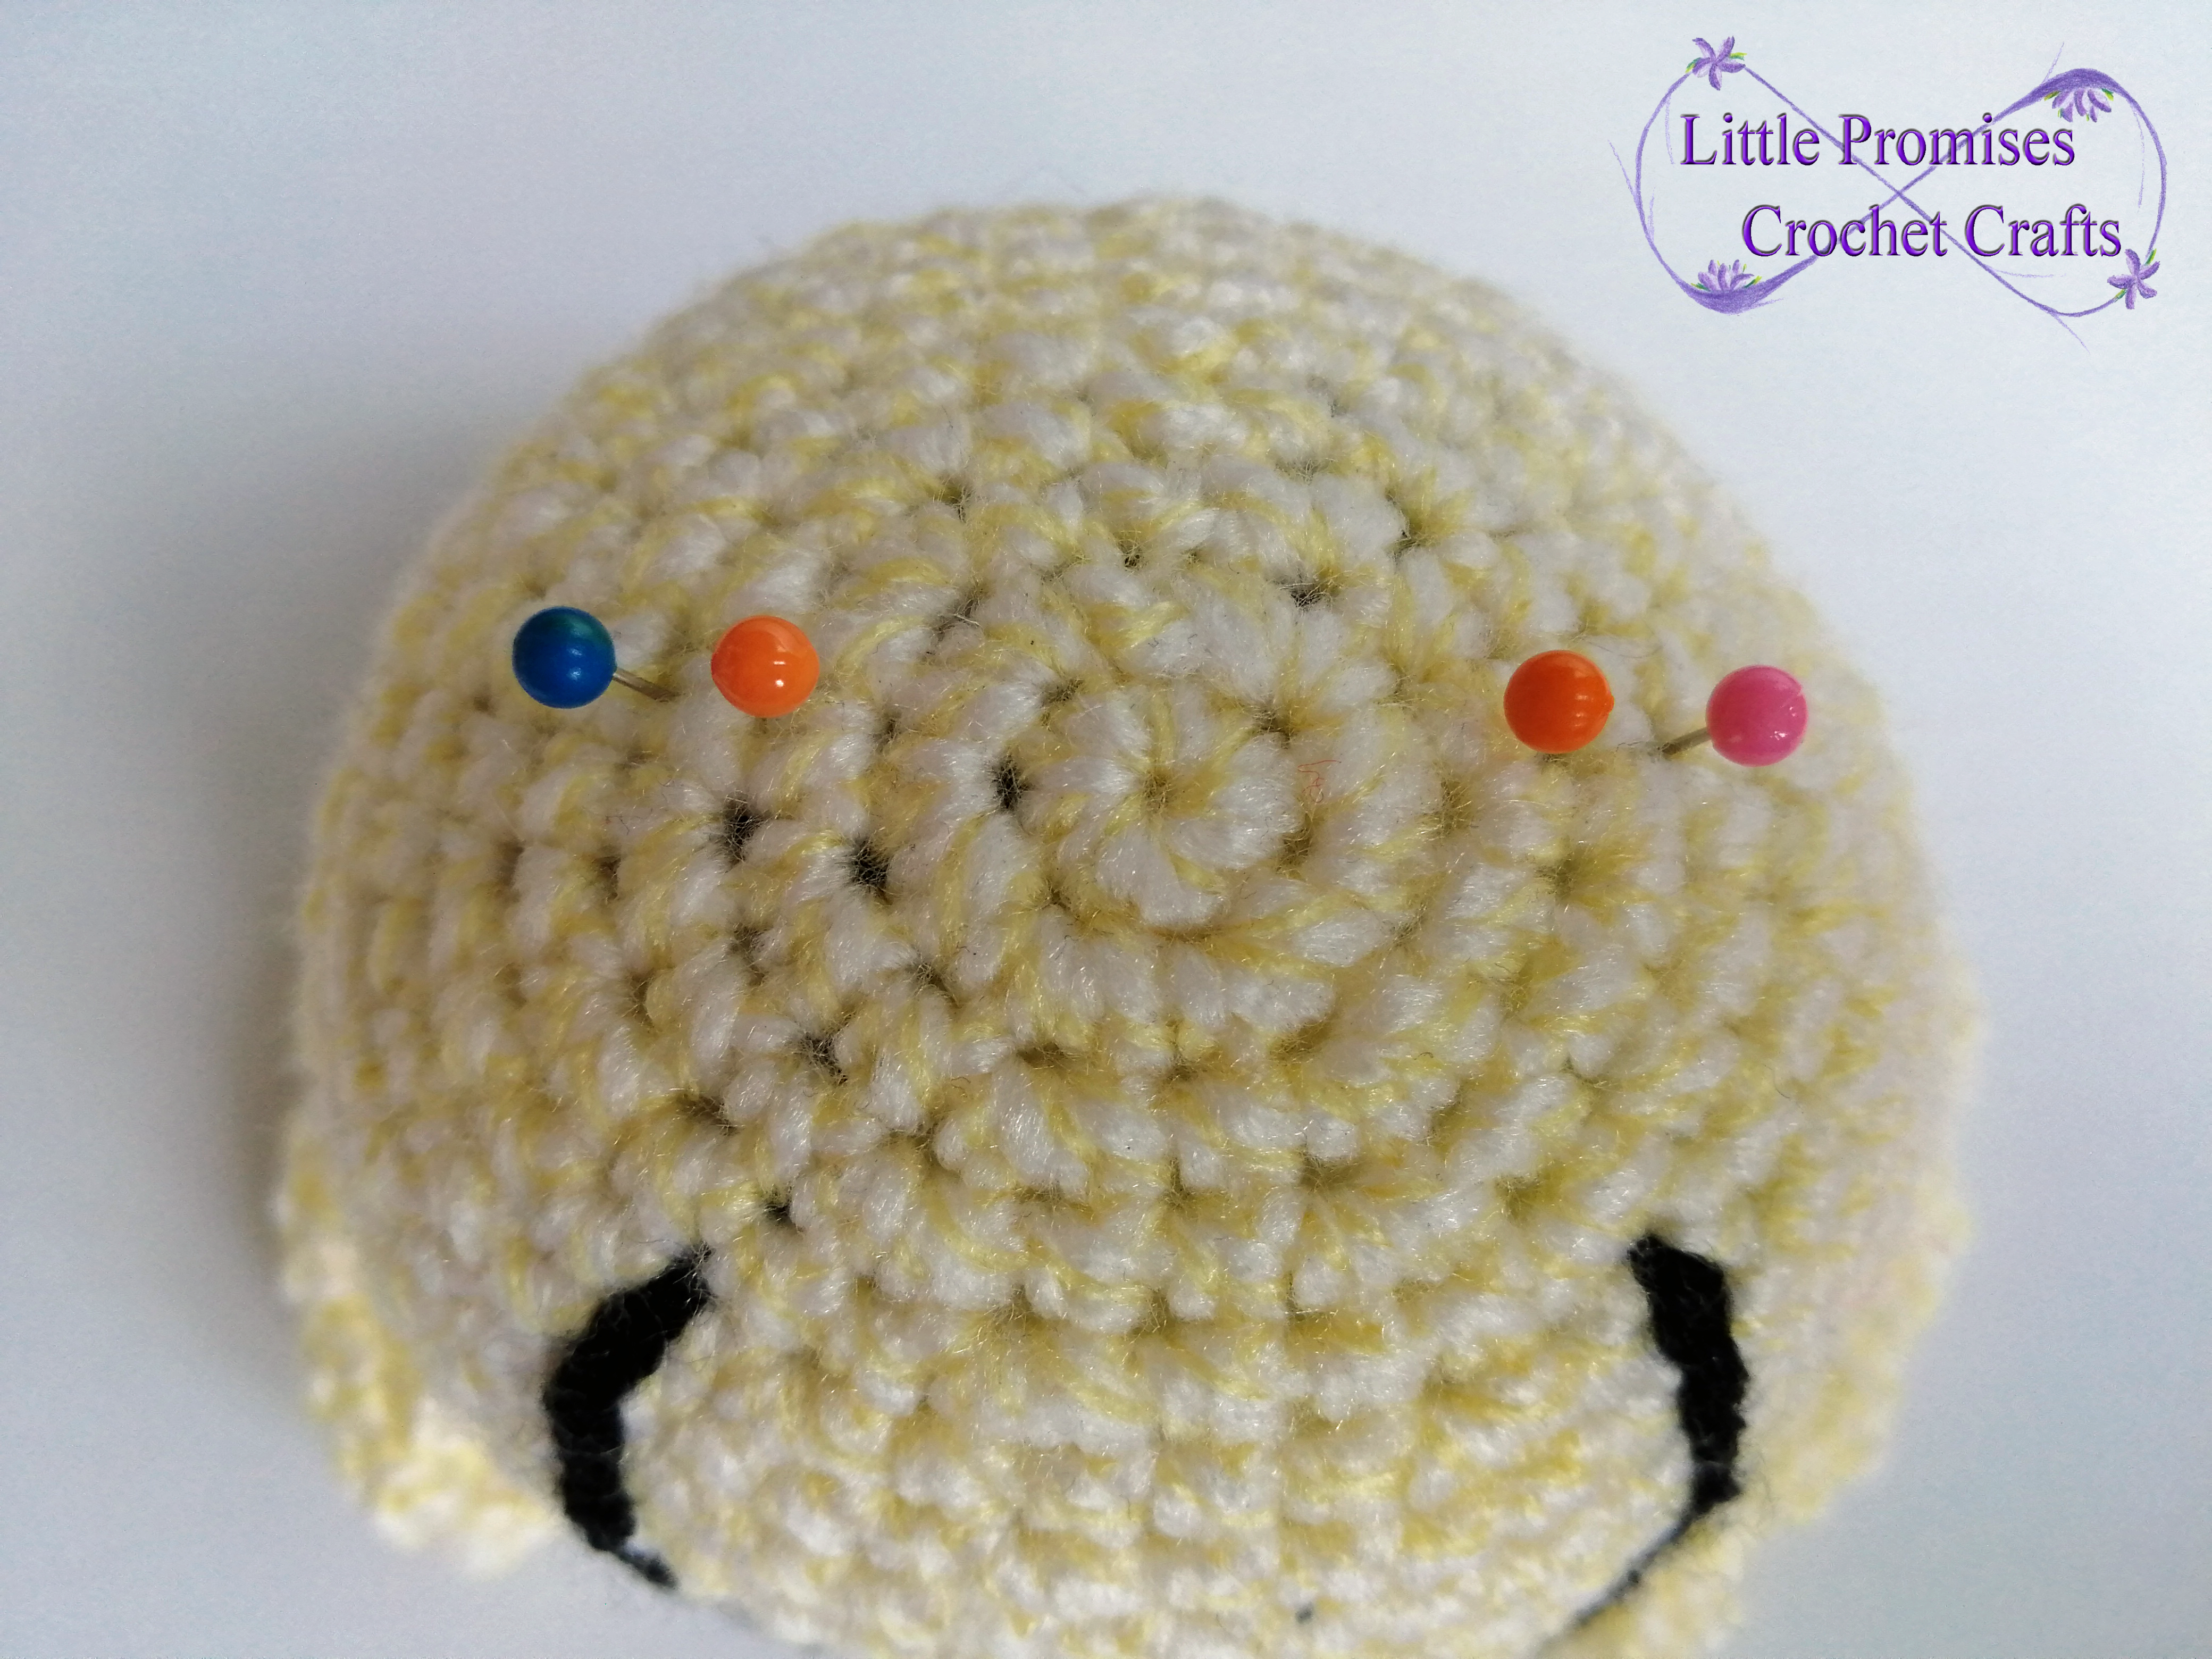
Surface crochet wide smile


I have tested this pattern a great many times to check for errors but if you should have any problems please get in touch. You can email me at vivienne@littlepromisescrochetcrafts.com and I’ll do my very best to help.
I’d love to hear your feedback so please leave me a message in the comments.
Hop-py Crocheting.
If you enjoyed this pattern please check out my patterns page for more.
Until next time,
Be productive, be brilliant, be kind
Love,